The following are brief steps on how to setup / launch an InfluxDB Virtual Machine on GCP (Google Cloud Platform), install python 3.7 on it and run a python script that queries the data from an IOT Network server like TTN (The Things Network).
Create a project on GCP - where you will deploy the InfluxDB Virtual Machine instance.
To deploy an InfluxDB instance log into your Google Cloud Platform account and navigate to InfluxDB in the GCP
marketplace using the links provided: GCP CONSOLE - COMPUTE ENGINE - GCP MARKETPLACE - DATABASES - InfluxDB Virtual Machine (VM)

Fig 1: Launch Page.
After clicking on the launch button, you wil be prompted to customize the InfluxDB virtual machine to be launched. (Customization can be done or you can lauch it as it is)
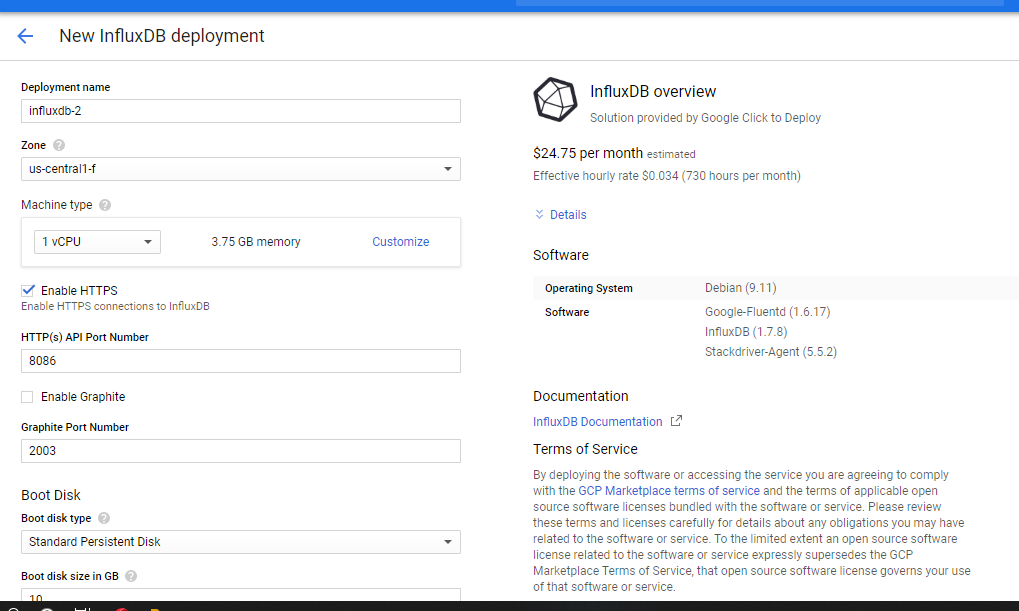
Fig 2 : Deployment Page.
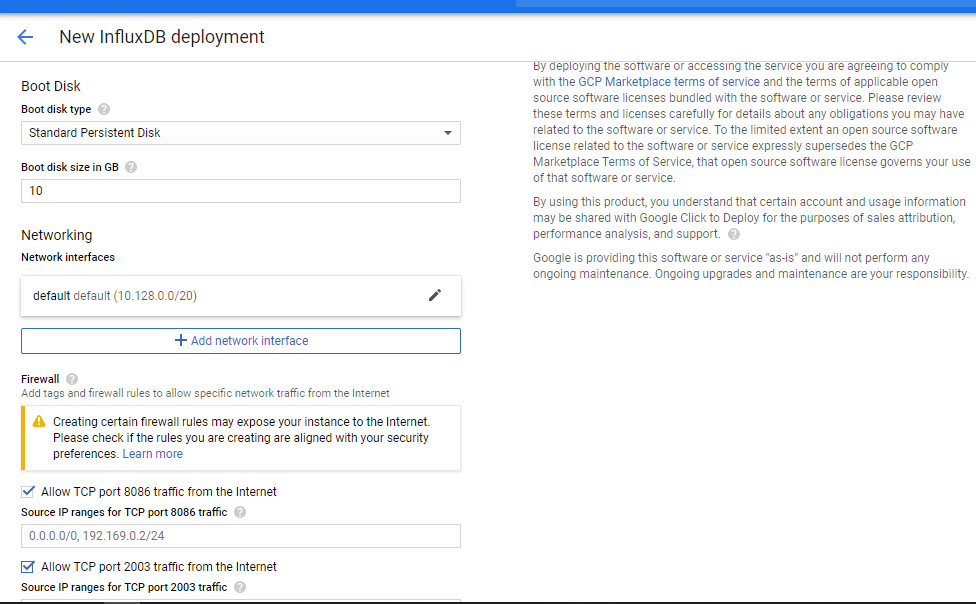
Fig 3 : Deployment Page.
Name the instance and click deploy. Copy the instance password, username and IP address provide to a text document for storage.
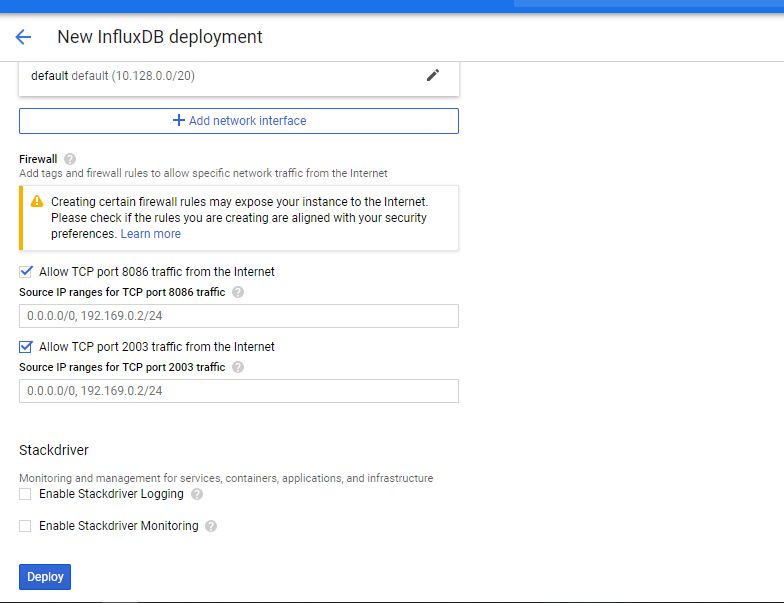
Fig 4 : Deployment Page.
After deployment, click on GCP external address and change the status of the InfluxDB VM instance to static. After setting up the static IP address, you can access the VM instance using the SSH protocal. (The SSH protocol (also referred to as Secure Shell) is a method for secure remote login from one computer to another. It provides several alternative options for strong authentication, and it protects the communications security and integrity with strong encryption).
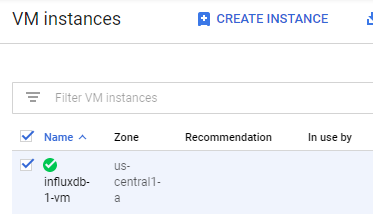
Fig 5 : Deployment Page.
The next step after accessing the instance is to install python (to enable querying of data from an IoT network server)in the said instance. To make this possible python 3.7 with pip is needed and its installation can be achieved by running the following commands consecutively:
sudo apt updatesudo apt install build-essential zlib1g-dev libncurses5-dev libgdbm-dev libnss3-dev libssl-dev libreadline-dev libffi-dev curlmkdir /tmp/Python37cd /tmp/Python37curl -O https://www.python.org/ftp/python/3.7.3/Python-3.7.3.tar.xztar -xf Python-3.7.3.tar.xzcd /tmp/Python37/Python-3.7.3./configure --enable-optimizationsnprocto know the number of cores) in my case servers coremake -j 1 (2- represents the number of cores)sudo make altinstall (installation after building the binaries)python3.7 --version (verifying your installation)If the querying-mqtt python script is located on Github you can follow the following commmands. An example of a TTN (The Things network) - InfluxDB querying script can be accessed at Ciira WA Maina Github - ttn_to_db.py. The requirements to run the script at Ciira WA Maina Github - requirements.txt.
cd /tmp/Python37/Python-3.7.3sudo apt-get install gitQuerying scriptandrequirements.txtCloning (Example)git clone https://github.com/username/gcp-scripts.gitcd gcp-scripts/touch ttn_to_db.py , nano ttn_to_db.py , copy the code from the python file in your local host
and paste them on to the terminal. , press (cntrl+O) to save, then enter and lastly press (cntrl+x) to exit the terminal) and
(touch requirements.txt, touch requirements.txt, copy the requirements.txt from the text file in your local host and paste them on to the terminal,
press (cntrl+O) to save, then enter and lastly press (cntrl+x) to exit the terminal): (NB THE SAME COMMANDS CAN BE USED TO EDIT THE SCRIPTS = nano ttn_to_db.py TO OPEN )
python3.7 -m venv venv-querysource venv-query/bin/activatepip install -r requirements.txt
app_id = "TTN / network server application id"access_key = "TTN / application access key "db_client = InfluxDBClient(host='instance external IP address', port=8086, username='instance username', password='instance password', ssl=True)db_client.create_database('database name')db_client.switch_database('database name')def uplink_callback(msg, client):GTW_IDS = ['gateway1', 'gateway2', 'gateway3', 'gateway4'] # gateway of interestnohup python ttn_to_db.py
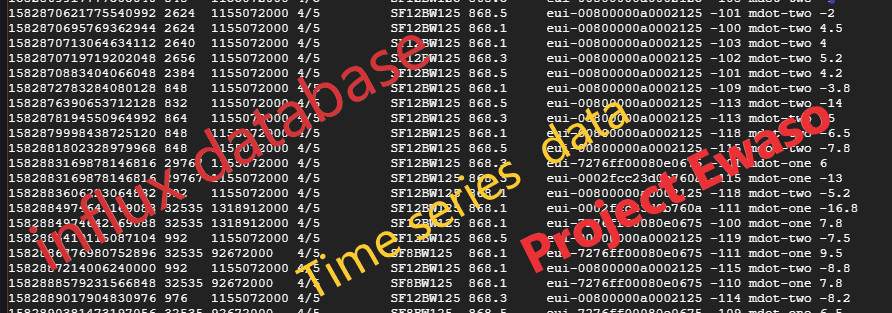
influx -ssl -unsafeSsl -username 'instance username' -password 'instance password'show databasesuse database nameshow measurementsselect * from "measurement on record"Dr Ciira Wa Maina - Director, Centre for Data Science abnd Artificial Intelligence (DSAIL) - Dedan Kimathi University of Technology